
Replacing the brake pads is an easy, basic disc brake maintenance task you can do at home. This article covers the step-by-step instructions to remove and install your disc brake pads.
Things to note
- Shimano, SRAM, and Campagnolo have different brake caliper designs. Use the correct brake pads for your brake calipers.
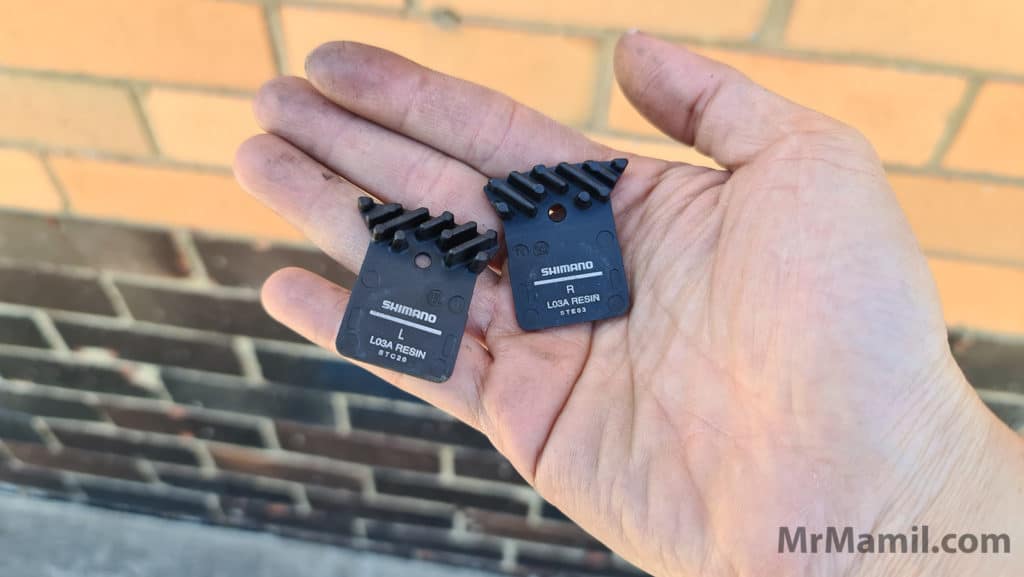
- Take note of the L (left) and R (right) markings on the brake pads.
- There’s a metal clip (sometimes called R-clip, snap retainer) at the end of the brake pad pin to ensure the pin doesn’t come off accidentally.
Tools needed
- 3mm hex
- Brake piston press tool, or flathead screwdriver, tire lever
- Longnose plier
- Sandpaper
How to remove disc brake pads
Take Note of the Brake Pads Safety Pin
- Place the bike on a repair stand and remove the wheels.
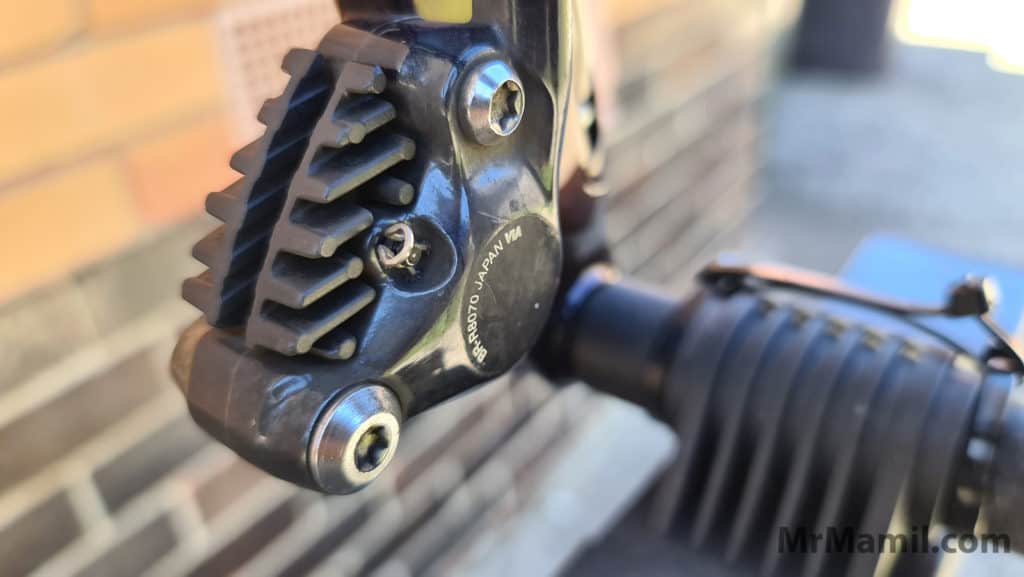
- Locate the brake pad pin. There’s a small metal clip at the end.
- Remove the metal clip using a long nose plier (easier), or with your fingers.
- Remove the brake pad pin. You’ll either need a 3mm hex or flathead screwdriver.
- Pull out the brake pads.
- Clean the calipers thoroughly using a rag with some isopropyl alcohol.
How to install disc brake pads
Ensure the Pads are Installed Correctly (Left and Right Sided)
- Ensure you have got the right brake pads for your brake calipers.
- Gently sand the brake pads with a fine sandpaper.
- Use a brake piston press tool such as the Park Tool PP-1.2 and push the pistons back into the caliper. You want the pistons to be flush with the calipers.
- Alternatively, a tire lever or flathead screwdriver will also do the job. Wrap the screwdriver with a rag to prevent it from damaging the pistons.
- Insert the brake pads together with the return spring. Take note of the L and R markings.
- Thread the brake pad pin through the caliper, pads, and return spring.
- Hand-tight the brake pad pin using a 3mm hex or flathead screwdriver.
- Insert the metal clip.
- Install the wheel.
- If there isn’t enough clearance between the pads for the disc rotor to be inserted, repeat steps 3 or 4.
Should I use metal or resin brake pads?
Metal brake pads offer better braking power, especially in the wet and steep descends at the expense of modulation, a higher wear rate for both pads and rotors.
Resin brake pads have better braking modulation, and a lower wear rate but at the expense of more braking power.
I prefer to use resin pads on my road bike and metal pads on my gravel/off-road bike.
How long can the brake pads last?
It can be anywhere from 1,000 to 3,000 miles.
It depends on many factors such as the pads’ compound, rider weight, braking behavior, and the routes ridden. For most cyclists, the front brake pads will wear out much faster than the rear.
When to replace the brake pads?
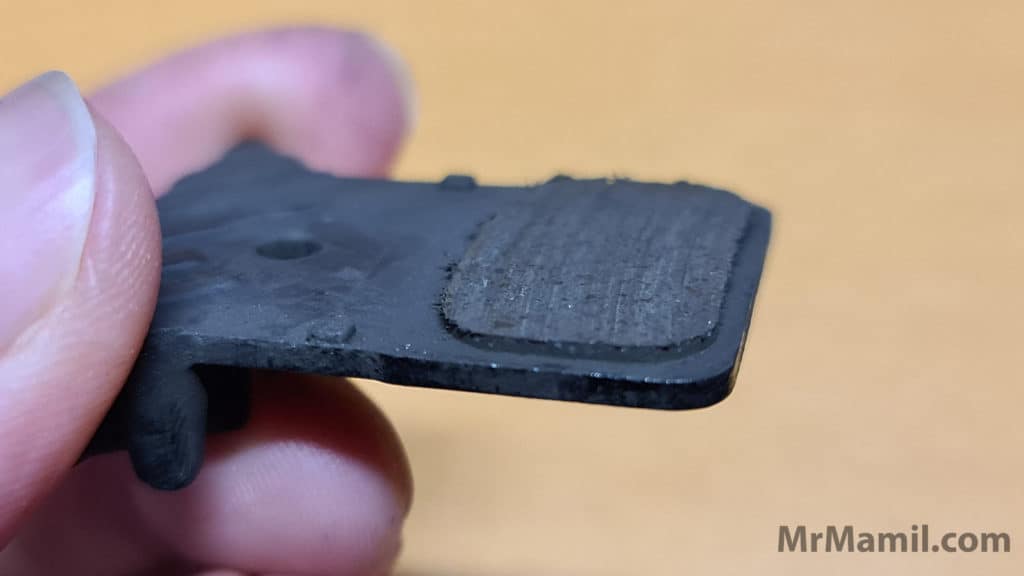
A Worn Out Brake Pad
The rule of thumb is to replace the brake pads before they’re worn. Visually inspect the pads every time you remove the wheels.
Here are the common reasons to replace the brake pads.
- If the pads are almost flush with the return spring (less than 1mm), it’s time to replace them.
- If you’re replacing the rotors.
- If you’re going for a cycling holiday trip that involves a lot of climbs and descents, then replace them before departing. You don’t want a worn-out brake pad during the trip.
Common mistakes when replacing brake pads
Although replacing the brake pads is a basic bike maintenance task, some of the common mistakes include,
- Not properly bedding in the new brake pads.
- Not paying attention to the L and R markings.
- Forgetting to install metal clips.
- Accidentally touching the brake pads and rotors with your fingers.
- Not pushing the pistons enough for the rotors to be inserted.
No comments:
Post a Comment
Note: Only a member of this blog may post a comment.