
Cleaning the disc brakes is now one of the basic bike maintenance tasks every cyclist should know as the cycling industry adopts disc brakes.
Unlike rim brakes, disc brakes require more care and maintenance to keep the braking system performing as it should be; consistent, quiet, and powerful.
This article will cover the steps to clean the contaminated brake pads and rotors and answer some frequently asked questions about disc brakes.
Key takeaways
- Contaminated pads and discs lead to poor braking power.
- Clean the brakes last during a bike wash.
- Clean both the brake pads and rotors.
- Keep your hands, grease, and oil from the rotors.
What causes the brake pads and rotors to be contaminated?
The primary cause of disc brake contamination is riding in wet weather conditions. With the help of water splashes, the dirt and grime make their way from the road surface onto the disc and brake pads.
The secondary cause is touching the disc rotors with our fingers, leaving a layer of oil on the rotor.
When should I clean the disc brakes?
Clean the disc brakes when you hear squealing sounds, especially after a wet ride. The contact area between the pads and rotor should be immaculate, and the presence of foreign substances such as dirt or grime will make it squeal when you brake.
You should also clean your disc brakes whenever you wash your bike, not only when it squeals.
What should I use to clean the disc brakes?
For regular cleaning, soap and water should be sufficient. Clean the bike first, then the disc brakes. Many cyclists did the opposite, causing the bike’s dirt, grime, and oil to contaminate the disc brakes.
How to clean contaminated disc brakes
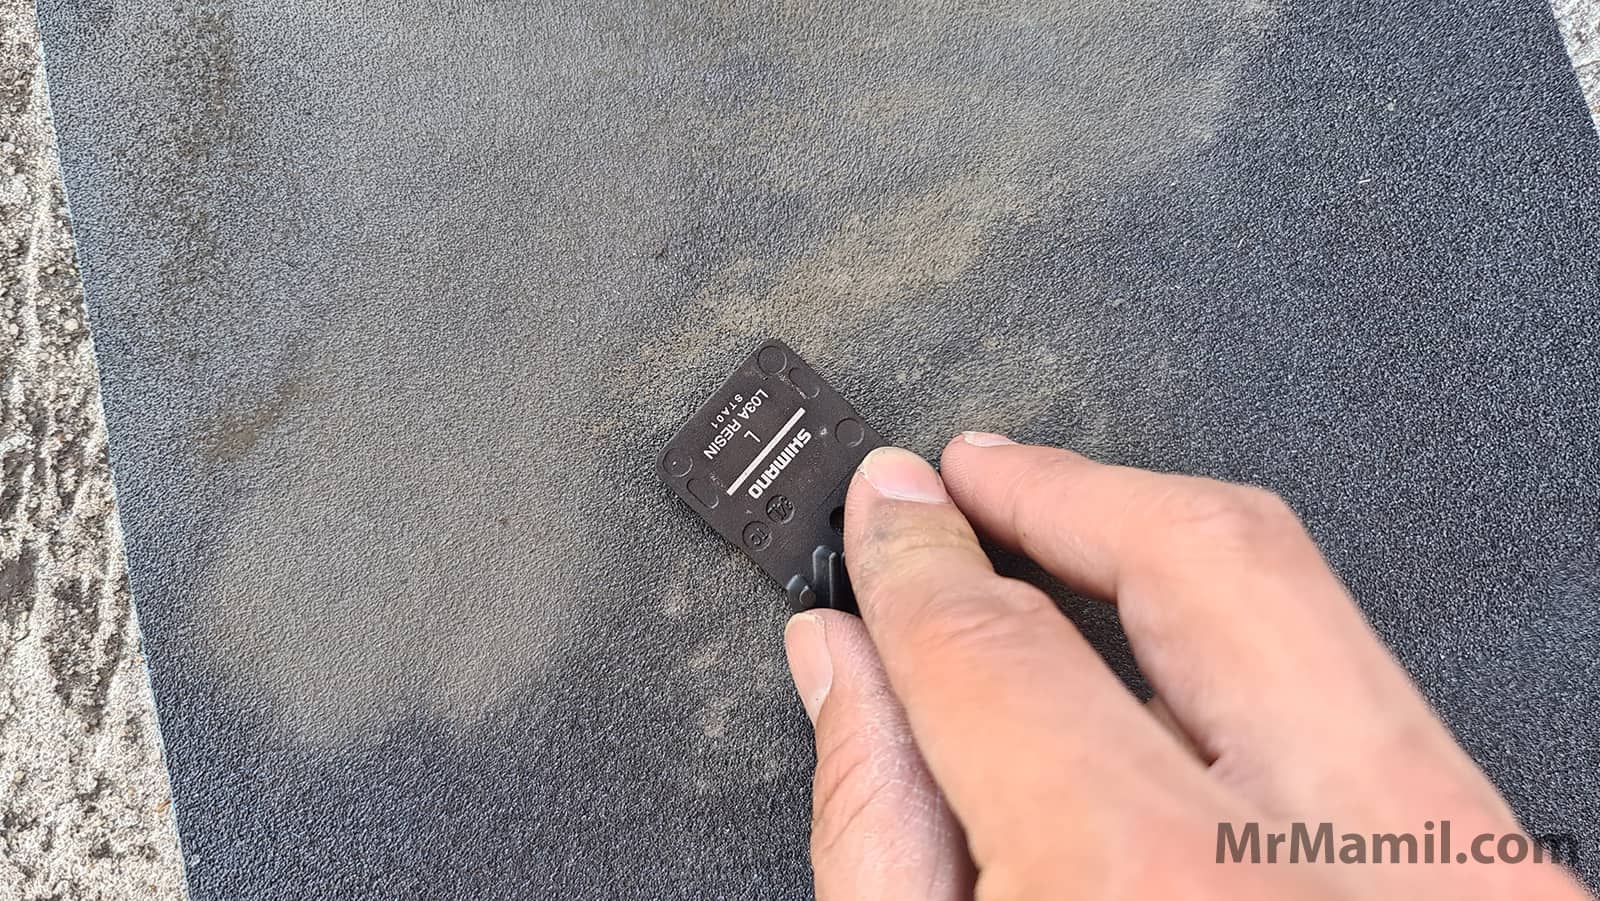 Sand the Brake Pads on A Sandpaper
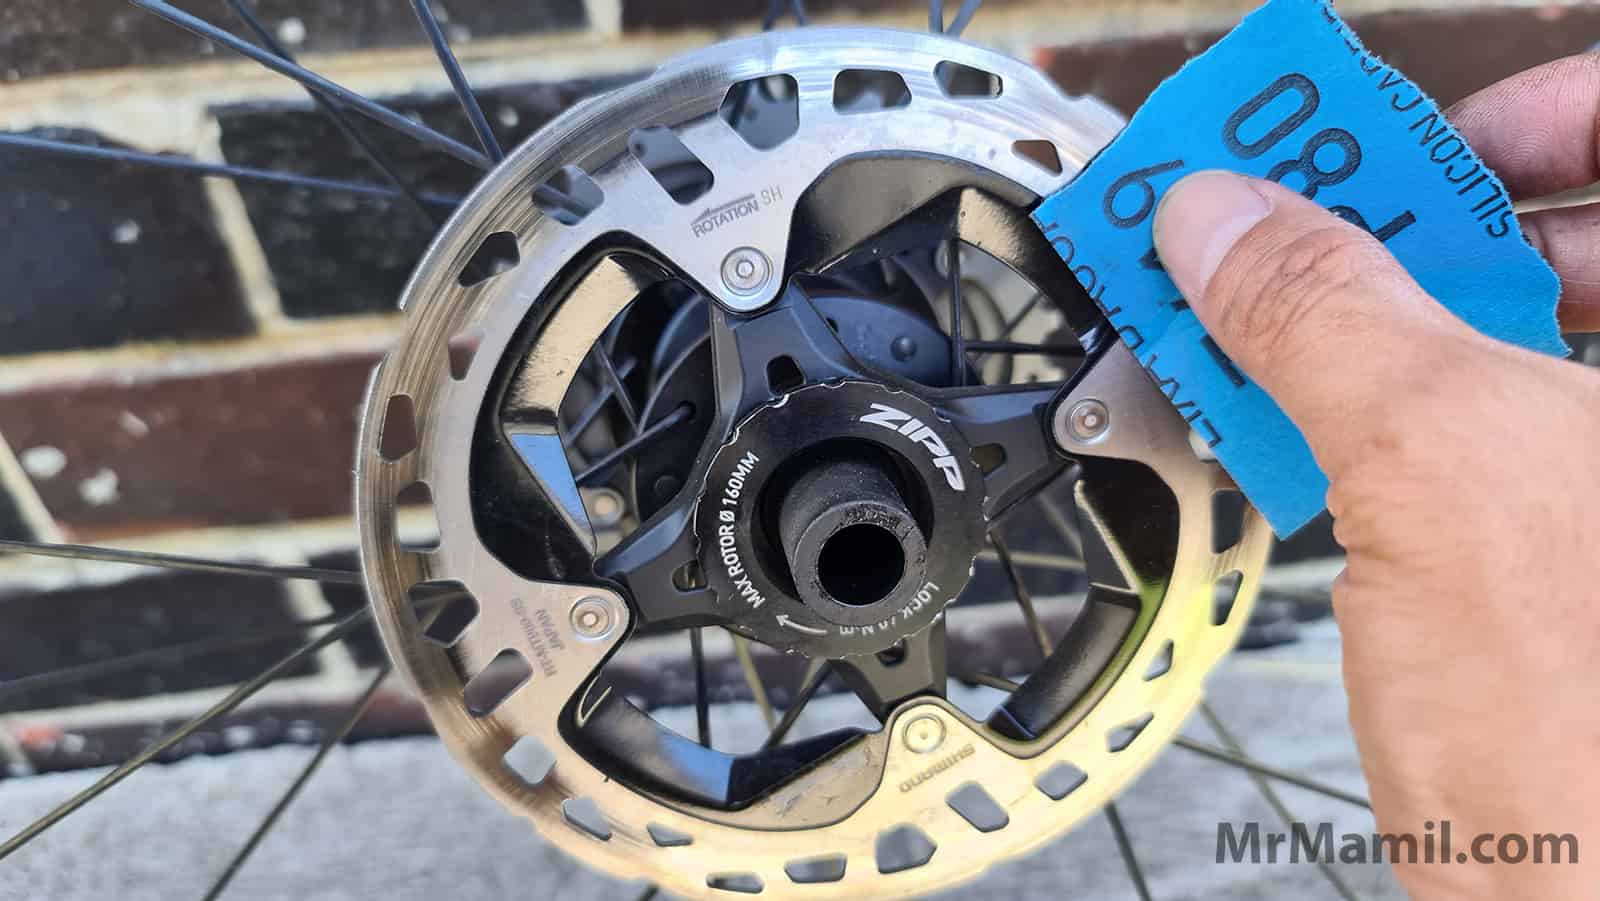 Sand the Brake Rotors with A Sandpaper
- Remove the wheels from the bike.
- Remove the brake pads by first removing the safety pin with a plier. Then, loosen the lock screw and pull out the brake pads.
- Use a fine sandpaper and gently sand the rotors’ surface and brake pads to remove the stubborn contaminant.
- Spray the disc brake cleaner onto both sides of the rotor and both (left and right side) brake pads liberally. Isopropyl alcohol is a cheaper alternative. Let it sit for one to two minutes to evaporate and dry.
- Install the brake pads. Remember not to swap front and rear brake pads as they wear out differently.
Do’s
- Clean the rotors with soap and water each time you wash the bike.
- Clean the rotors if you’ve driven long distances and/or over dusty roads with the bike on the hitch bike rack.
- Do check the brake pads for wear each time you remove them.
- Do use isopropyl alcohol if you don’t have disc brake cleaners.
- Do clean the rotors thoroughly each time you put on fresh brake pads.
- Do bed-in the new brake pads.
Don’ts
- Don’t touch the rotors with your fingers.
- Don’t use degreaser or lubricants of any kind to clean the brake pads and rotors.
- Don’t swap front and rear brake pads or left and right.
No comments:
Post a Comment
Note: Only a member of this blog may post a comment.